Measurements with Computer Tomography

Non-destructive 3D recording of the internal and external geometry

Recording of objects for material testing, inspection of joints and geometric dimensional accuracy.


X-ray computed tomography, or CT for short, enables the non-destructive recording of the internal and external structure of an object. Complex workpieces, assemblies or entire systems can be fully recorded. Defects in the material or joining surfaces can be detected. Geometric features can be evaluated both on internal as well as external structures that are difficult to access.


Our services


The Imaging and Sensing department at the Fraunhofer Institute for Applied Optics and Precision Engineering IOF offers the following development services:

  • Complete digitization of objects and assemblies
  • Development of evaluation strategies to determine geometries and dimensional accuracy of internal and external structures
  • Target-actual comparison between CT measurement data and CAD model
  • Data evaluation for material testing (blowholes, cracks, porosity, inclusions, etc.)
  • Checking assemblies with regard to their adjustment and assembly conditions
  • Optimization of CT parameters with regard to near-series testing
  • Advice on integration into production processes and quality assurance control loops

Characteristics of our CT system

Fraunhofer IOF has a modern twin-tube system for high-resolution CT measurements. It is possible to switch between the X-ray tubes using software without the need for modifications. The system has the following parameters:

  • Nanofocus tube: 180 kV
  • Microfocus tube: 240 kV
  • Max. Object diameter: 320 mm (expandable to 640 mm)
  • Max. Object height: 320 mm
  • Detector resolution: 2048 × 2048 pixels (measuring range extension to 4096 × 2048 pixels)
  • Detail detectability: up to 500 nm
  • Measurement uncertainty: 1 µm
CT system at the IOF: exterior view (left) and interior view (right)
© Fraunhofer IOF
CT system at the IOF: exterior view (left) and interior view (right)

Functionality of the CT system


The Fraunhofer Institute for Applied Optics and Precision Engineering IOF develops optical systems for a wide range of applications. The spectrum ranges from tiny illumination units to large imaging mirrors for space travel. By closely combining optical and precision mechanical methods, complex and high-performance optomechanical elements can be designed. However, metric testing of complex components and systems is often problematic. X-ray computed tomography (CT) opens up possible solutions here.
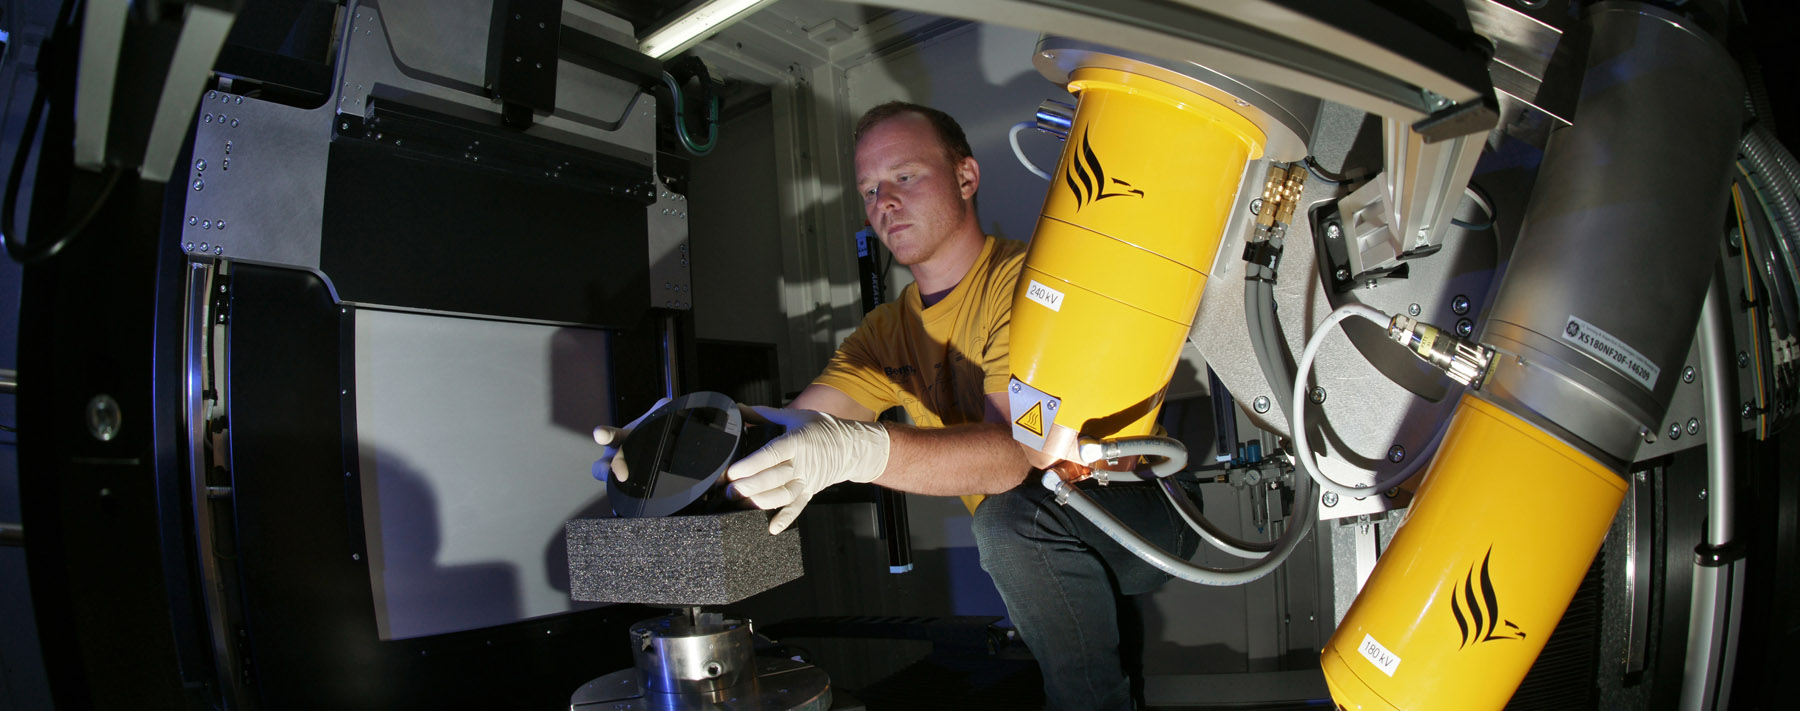
In CT, a measurement object is X-rayed from a large number of angles. A complete volume model of the object can be reconstructed from the radiographic images. Fraunhofer IOF has a CT system of the type v|tome|x from the manufacturer Baker Hughes. Thanks to the cone beam arrangement and two interchangeable X-ray sources, the system achieves great flexibility with regard to the size and material of the measurement objects. The size of the smallest volume element (voxel size) is determined by the position of the measurement object between the beam source and the detector and serves as a benchmark for the metric analysis of the volume model. The resolution limit is ≥ 0.5 μm. In the digital volume models, gray values represent the X-ray absorption in the volume elements. Materials such as plastic, glass, aluminum and steel can thus be distinguished from one another. Based on the gray value transitions between the materials, their surfaces can be determined with sub-voxel accuracy. After the measurement, the complete surface or partial surfaces can be determined in the volume model.

Metric analysis of a Fresnel freeform lens made of PMMA using CT and color 3D comparison of the surface against the CAD model
© Fraunhofer IOF
Metric analysis of a Fresnel freeform lens made of PMMA using CT and color 3D comparison of the surface against the CAD model
Target-actual comparison of a 3D-printed scan mirror with topology-optimized “beetle structure”
© Fraunhofer IOF
Target-actual comparison of a 3D-printed scan mirror with topology-optimized “beetle structure”
Deviation of the wall thickness of the inner honeycomb structure in a lightweight mirror
© Fraunhofer IOF
Deviation of the wall thickness of the inner honeycomb structure in a lightweight mirror
CT examination of the shape and position of the gold wires in an electron beam deflection system
© Fraunhofer IOF
CT examination of the shape and position of the gold wires in an electron beam deflection system
Analysis of the assembly condition of VR glasses using computer tomography
© Fraunhofer IOF
Analysis of the assembly condition of VR glasses using computer tomography
Detection of assembly errors in a microscope lens
© Fraunhofer IOF
Detection of assembly errors in a microscope lens
 

Downloads for product sheets on our research topics


Our data sheets summarise relevant information on our current research highlights in a compact and clear format. Use the download function to save interesting and relevant topics for later and to save important data and visualisations for later retrieval.

Do you have questions about our services?  

In a personal meeting, we will advise you on our (individual) range of services and our core competencies. Please contact us. 

Are you interested in a cooperation? Contact us!

We develop special and visionary solutions - tailored to the needs and wishes of our customers. Let us talk about your idea(s).


You would like to work with us?
Then apply with us!

We are always looking for creative minds and committed people who want to develop innovative solutions with light together with us. Visit our job portal or send us a speculative application: